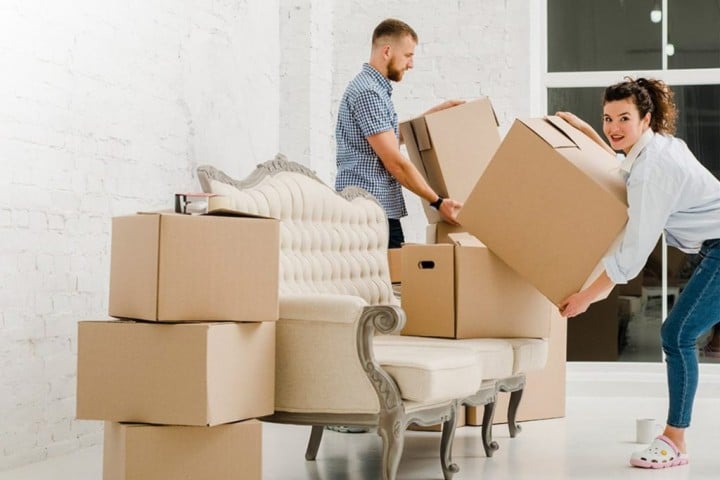
Moving into a new house can be a hectic experience, and it’s easy to get overwhelmed with all the tasks needed. Maintaining a clean and healthy environment is essential for any home or business.
Cleaning involves more than just removing visible dirt and debris; it requires following specific steps to ensure that your environment is thoroughly sanitized.
In this article, we will outline the seven steps in the cleaning process that can help you achieve a spotless and hygienic space as you move into your new house. From preparing the area to drying surfaces, each step is vital and should be followed to ensure you’re effectively removing unwanted materials from your home or business.
Moving into a new house is not easy, and getting everything sorted may take some time. Take it one step at a time, and don’t hesitate to ask for help from friends or call a professional move-in-out cleaning company like Cleaning Heights if you need it. By the end of this article, you’ll have a comprehensive understanding of the cleaning process and be able to implement these steps to maintain a clean and healthy environment.
Eight Cleaning Tips for Move into a New House
Step 1: Preparing the area
Before you begin cleaning, it’s essential to prepare the area you plan to clean. This involves removing any clutter, furniture, or objects hindering the cleaning process. It would help if you also ensured that all surfaces are free from dust, debris, or any other unwanted materials. Make sure you have enough supplies to clean the entire home.
Step 2: Dusting
Dusting is the main step in the cleaning process. Removing dust from surfaces such as shelves, tables, and other surfaces is essential. A microfiber cloth or a feather duster can effectively remove dust.
Ensure that you reach all areas, including hard-to-reach corners and crevices. It’s important to use the right tools and techniques when dusting to avoid spreading dust around and potentially causing allergies or respiratory issues.
Step 3: Vacuuming
Vacuuming is essential in cleaning, especially for carpets, area rugs, and upholstered furniture. A vacuum cleaner with a HEPA filter is recommended as it can remove dust, dirt, and other allergens from the air.
Ensure you vacuum all areas, including under furniture and in tight spaces. Choosing the right setting and attachment for the surface, you’re cleaning is important. For example, carpet cleaning requires a different attachment than furniture vacuuming.
Step 4: Washing surfaces
After dusting and vacuuming, the next step is to wash surfaces. Use a cleaning solution that’s suitable for the surface you’re cleaning. For example, a disinfectant spray can be used for bathroom surfaces, and a multipurpose cleaner can be used for countertops and floors.
Ensure that you follow the manufacturer’s instructions when using cleaning products. Or you can use warm water and clean cloth to clean the surfaces of the countertop, floors, and sinks and kill the bacteria that cause illness in your home. Clean countertop and sink not only look good but also help to prevent several types of health problem.
Step 5: Cleaning windows and mirrors
Cleaning windows and mirrors are often overlooked, but cleaning is essential. Use a window cleaner and a microfiber cloth to clean windows and mirrors. Ensure you clean both sides of the glass and remove any streaks or smudges. After cleaning, your windows and mirrors will look crystal clear and enhance the overall look of your home.
Step 6: Mopping
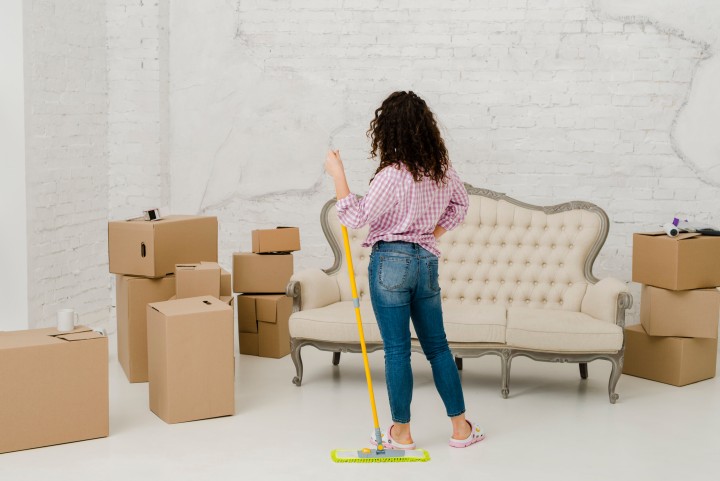
Mopping is the final step in the cleaning process. Use a mop to clean the floors. Ensure you wring out the mop thoroughly to avoid leaving excess water on the floor. It would help if you also rinsed the mop frequently to ensure that you’re not spreading dirt and debris around.
Step 7: Drying
The final step in the cleaning process is drying the area. Use a clean, dry cloth to dry surfaces such as countertops, floors, and sinks. It involves removing moisture or water from surfaces. This step is essential to prevent the growth of bacteria and mold. Proper drying not only cleans your surfaces and items, but it also helps extend the life of items.
Step 8: Unpacking & Setup
After cleaning, unpack your essential items, such as bedding, toiletries, and kitchen items. That will help you settle in and feel more comfortable in your new home. After unpacking, you have all the utilities set up, like Gas, water, electricity, internet, etc. Call local utility companies for all these things.
In conclusion, following these steps to move into a new house will help you maintain a clean and healthy environment. Following each step is essential to ensure you’re effectively removing dirt, dust, and other unwanted materials from your home. Remember to use appropriate cleaning products and tools to achieve the best results.
We hope you found this blog post on What to do first when you Move into a New House? useful. Be sure to check out our post on Moving into a New House? Checklist for a Hassle-Free Move for more great tips!
Have Experience in the Moving Industry? Want an Additional Income Stream? Work With All Around Moving!
Join the Work With Us program, moving relocation consultants. We provide you with the carriers, or you can use your own and by joining, you could have your own company up and running very fast.
Click here to learn more and how a nominal one-time start-up fee of $275.00, gives you the “key” to have your business.


