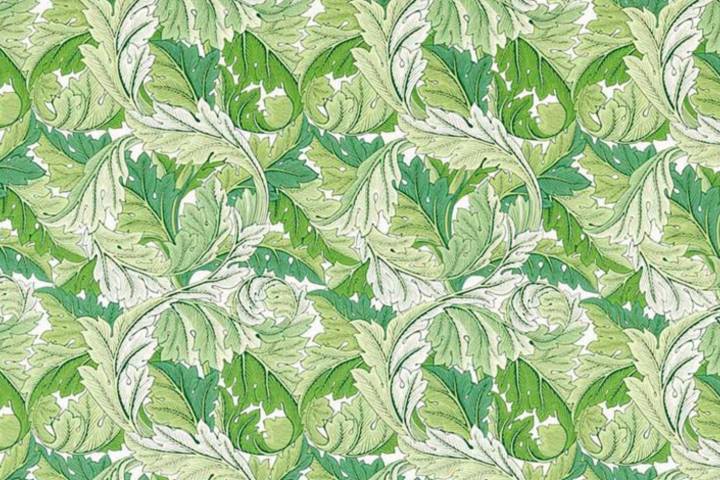
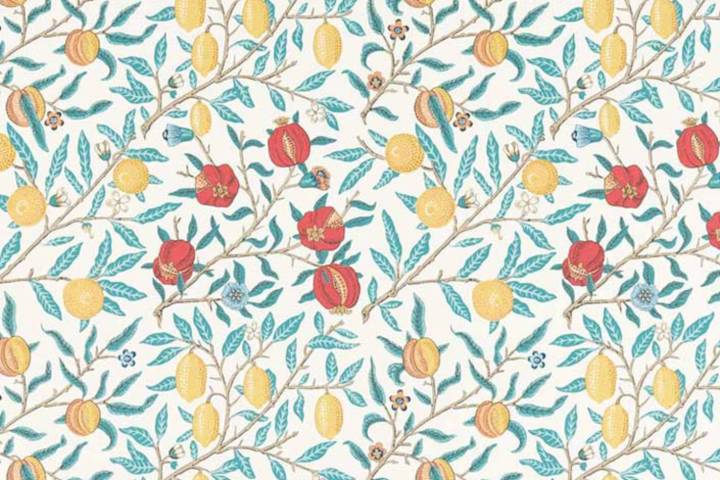
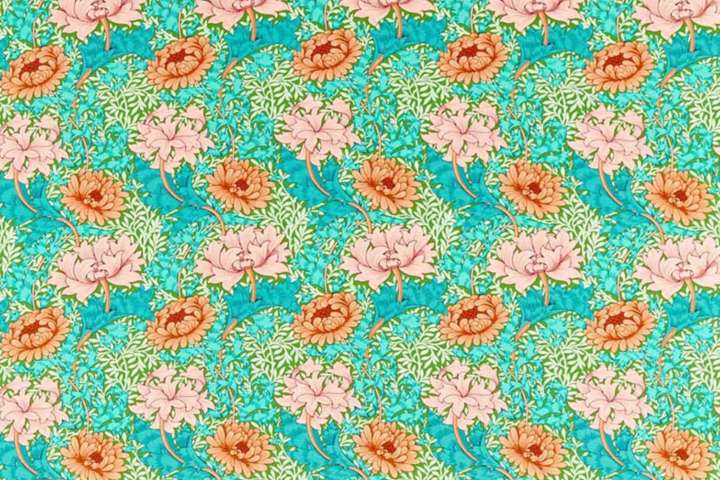
Fabric can be a really versatile and creative element in interior design. Morris & Co are famous for their beautiful and timeless designs and have a range of fabrics that can be turned into wall art. Here are 5 ways to use Morris & Co fabric as wall art to add elegance and charm to your space. By incorporating these stunning fabrics, you can create unique and personalized decor that reflects your style. Each method offers a different way to showcase the intricate patterns and vibrant colors of Morris and Co fabrics. Get ready to transform your walls into captivating pieces of art that tell a story.

1. Framed Fabric Panels
The easiest and most obvious way to use Morris & Co fabric as wall art is to frame it. Here’s how:
Materials:
- Morris & Co fabric of your choice
- Large frame or multiple smaller frames
- Acid-free backing board
- Double sided tape or fabric adhesive
Steps:
- Choose Your Fabric: Pick a Morris & Co fabric that matches your room’s color scheme and style. Their patterns like Strawberry Thief or Willow Boughs can be a focal point.
- Prepare the Fabric: Cut the fabric slightly bigger than the backing board so it covers the whole surface.
- Mount the Fabric: Attach the fabric to the backing board with double sided tape or fabric adhesive. Make sure it’s smooth and wrinkle free.
- Frame It: Put the mounted fabric into the frame and secure it. Hang the frame on your wall, as a single piece or as part of a gallery wall.
Framed fabric panels are easy to swap out if you change your decor.
2. Fabric Wall Hangings
A fabric wall hanging is another lovely way to show off Morris & Co fabric. This is perfect for adding texture and warmth to your walls.
Materials:
- Morris & Co fabric
- Wooden dowel or branch
- Rope or ribbon
- Fabric glue or sewing kit
Steps:
- Choose Your Fabric: Pick a Morris & Co fabric with a pattern that matches your space. Bold prints work well for wall hangings.
- Cut the Fabric: Cut the fabric to your desired size, leaving extra at the top to attach to the dowel.
- Create a Sleeve: Fold the top of the fabric over the dowel and sew or glue it to create a sleeve. This will allow the fabric to hang evenly.
- Tie the Rope: Tie the rope or ribbon to each end of the dowel to create a hanger.
- Hang It Up: Hang your fabric wall hanging on a hook or nail. Adjust the rope length to your desired height.
Fabric wall hangings add a bohemian and artistic touch to any room, perfect for living rooms, bedrooms or hallways.
3. Fabric Covered Canvas
A canvas covered in Morris & Co fabric is a great way to make a piece of art that’s textured and beautiful.
Materials:
- Morris & Co fabric
- Blank canvas
- Staple gun and staples
- Scissors
Steps:
- Choose Your Fabric: Pick a Morris & Co fabric you love.
- Cut the Fabric: Cut the fabric big enough to cover the front of the canvas and wrap around the edges.
- Stretch the Fabric: Lay the fabric face down on a flat surface, place the canvas on top and wrap the fabric around the edges of the canvas. Make sure it’s tight and smooth.
- Staple the Fabric: Using the staple gun, staple the fabric to the wooden frame of the canvas. Start in the middle of each side and work your way to the corners, pulling the fabric tight as you go.
- Finish the Edges: Fold the fabric at the corners and staple them in place.
Fabric covered canvases can be hung alone or in a series to create a cohesive and stylish wall display.
4. Fabric Accent Wall
For a big and dramatic statement, create a fabric accent wall with Morris & Co fabric. This works well in bedrooms, dining rooms or any room where you want to add some luxury.
Materials:
- Morris & Co fabric
- Wallpaper paste or fabric starch
- Paint roller or brush
- Scissors
- Measuring tape
Steps:
- Measure the Wall: Measure the height and width of the wall to calculate how much fabric you’ll need.
- Cut the Fabric: Cut the fabric into strips or panels to fit the wall measurements.
- Prepare the Wall: Make sure the wall is clean and smooth. Apply a thin layer of wallpaper paste or fabric starch with a paint roller or brush.
- Apply the Fabric: Start at the top of the wall and press the fabric onto the adhesive, smooth out any wrinkles or bubbles. Continue applying fabric until the whole wall is covered.
- Trim the Edges: Use scissors to trim the excess fabric at the edges of the wall.
A fabric accent wall is cozy and warm, it turns an ordinary space into something special.
5. DIY Fabric Wall Art with Embroidery Hoops
Embroidery hoops aren’t just for stitching – they can also be used to make beautiful and quirky wall art with Morris & Co fabric.
Materials:
- Morris & Co fabric
- Embroidery hoops in various sizes
- Scissors
Steps:
- Choose Your Fabric: Pick different Morris & Co fabrics to create a display.
- Cut the Fabric: Cut the fabric into pieces slightly bigger than the embroidery hoops.
- Frame the Fabric: Place the fabric in the embroidery hoops, make sure it’s taut and smooth. Trim the excess fabric around the edges.
- Arrange and Hang: Arrange the hoops on your wall in a pattern you like and hang with small nails or adhesive hooks.
This is a great project to add some whimsy and color to your walls. Mix and match different patterns and sizes for a fun and eclectic look.
Conclusion
Morris & Co fabrics with their history and beauty offer endless possibilities for wall art. Whether you frame the fabric, create a wall hanging, cover a canvas, design an accent wall or use embroidery hoops, these ideas will help you transform your space with the timeless beauty of Morris & Co. Get creative and let the luxury of these fabrics bring new life to your home.
We hope you found this blog post on 5 Ways to Use Morris & Co Fabric as Wall Art, useful. Be sure to check out our post on Interior Design Styles to Decorate a Small Space for more great tips!
Have Experience in the Moving Industry? Want an Additional Income Stream? Work With All Around Moving!
Our unique Work With Us program here at, All Around Moving Services Company, Inc., gives the opportunity to experienced moving consultants to run their own Moving Consultant business from anywhere in the United States. Click here to learn more.


